Sunday, January 25, 2015

Catching Up & Creative Dramatic Teal Eye Look

  Man it has definitely been a while since I have posted, Im sorry to those that follow me! I have been getting back into the hang of things back in college and unfortunately that has to take priority over my love of makeup :\ . (In case you didn't know I go to Albany College of Pharmacy and am in the 6 year pharmD program.)

  However I have had a little bit of down time to put try and work with my new camera. I had recently got a Samsung Galaxy Camera 2 for my birthday and have been obsessed with it so far! It takes crazy HD pictures that Im definitely not used to taking haha. I have been taking so many pictures with different settings, trying to make tutorials though because it is so new things still aren't how I would prefer them to be. But with that being said, I have gotten a lot better!

  The other night I had a little bit of time so I started messing around with what I have, wanting something dramatic since I usually always wear more natural, tone down smokey eyes. So I came up with a look using the Maybelline Color Tattoo Eyeshadow Base in Tenacious Teal. I haven't done anything with it yet so I was very pleasantly surprised when I finished this look. This is how it came out!


  Yes my brows are a little funky but I have yet to purchase a brow pencil or gel to keep them in place lol. Im still on that college budget... But with that said this look came out so stunning! I'll make a list of all the products I used, though they were from various things so I encourage everyone to use what they have and make it their own! :]
  • Maybelline Color Tattoo 24 Hour Eyeshadow in Tenacious Teal (#40)
  • Smashbox the Master Class Palette 2: Peacock (lid), Nectar (transition shade in crease), Dusk and Obsidian (crease and lower lashline), a little bit of Ultramarine (outer corner)
  • L'Oreal Carbon Black Lineur Intense liquid eyeliner
  • Nars Larger Than Life Eyeliner in Via Veneto
  • Tarte Lights, Camera, Lashes Mascara
I hope you liked the look, there will most likely be more pictures up on my Insta if you would like to follow me @kissable_makeup. Otherwise be creative and stay beautiful!


(Other products are also from the same Smashbox palette: Flush, Suntan, and Shimmer on the face. Foundation: Ready Set Gorgeous by Covergirl in 120 Nude Beige. Lips: Mac Creme D'Nude and Bite Beauty High Pigment Pencil in Sable)


Monday, January 19, 2015

Silver Smokey Eye Tutorial Using the Naked 2 Palette

  I absolutely love using the Naked 2 palette from Urban Decay to create great evening smokey eyes. I wore this look to go out with some friends to dinner and also to a party. I kept the shadows restricted to the ones in the palette though I wish it had more mattes to blend out colors. However here is the final look and a glance at the palette in case you haven't seen it! Keep reading if you want to achieve this look!


 From Left to Right: Foxy, Half Baked, Bootycall, Chopper, Tease, Snakebite, Suspect, Pistol, Verve, YDK, Busted, and Blackout

  Tutorial

1. To start things off I primed my eyes with Nars Pro Prime Smudge Proof Eyeshadow Base and MAC's paint pot in Soft Ochre. By doing this the colors will appear more vibrant and last a lot longer on my slightly oily eyelids. I also used a piece of tape and placed it on my eye as if I was drawing a line from my lower waterline, out towards the end of my eyebrow.

2. Next I used my Sigma e40 brush and used the color Tease, placing it mainly in the crease and blending it from inner corner to outer corner. Its okay if this is a bit messy because it is going to act as our transition shade.

(ignore the messy brows lol)

3. After that I picked up verve on a shader brush and placed it all over the lid, keeping it under the crease. I used the Sigma e55 and the thin flat end of the brush that came included in the palette. 


4. To start the smokey part of this look I took the color Busted on the same shader brush and placed it in the outer half of my eye. I blended it up into the crease and over the lid with the Sigma e25.


5. To deepen the look a bit I added the color Blackout on a pencil brush, the Sigma e30, and placed it right in the outer V of my eye... and of course blended it into the crease slightly and into the outer corner.


6. To top off the look I added a little wing using Maybelline Gel Eyeliner in Blackest Black and used a mix of Busted and a little bit of Blackout on my lower lashline, starting from the outer corner and working in. I also retouched things by adding some more Verve onto the inner half of my lid and brought it also onto the inner part of my lower lashline.


And that completes the look! I hope this was easy to follow along with and just take your time adding the colors little by little so that everything is blended nicely! 

Make sure you follow me by subscribing through email or follow me on Twitter or Instagram!
Thanks for all of your support!


Thursday, January 15, 2015

Everyday Glitz Tutorial Using Mac Tan Pigment

 Its been a while since I touched my Mac pigment, unfortunately the only one I own, and I figured I'd do a look with it today. I incoorporated a little smokey eye though I tried to keep the main focus on the lid. By doing so I feel that it really brings out the eye color, mine being blue.


I really wish that the burgandy color (Bitten from Make Up Geek) would have shown up better, but its still an easy yet beautiful look. And here is the tutorial, hope you get inspired!

Step 1: Prime the eyes with your favorite primer. I used Nars Smudge Proof Eyeshadow Base and MAC's paint pot in soft ochre to conceal the veins I have and make the colors pop more.


Step 2: Take the eyeshadow Latte from Make Up Geek (MUG) on a fluffy blending brush and apply it mainly in the crease, blending up towards the brow bone and lightly on the outer and inner corners of the eye. I used the Sigma e40 brush.


Step 3: Apply the MAC Tan Pigment all over the lid first. Then to amp up the color, spray some MAC Fix + on your brush before tapping it into the pigment and tapping off the excess. This will give a more foiled appearance and may produce fallout, just be careful and I recommend doing this before foundation. I used the Urban Decay brush from the Naked 2 palette, the shader side. Its similar to MAC's 242.


Step 4: Apply MUG eyeshadow in Bitten into the crease and lightly into the outer corner. The shade Latte acted like a transition shade in this case. I used the Sigma e25 brush to do this. It added a little bit more dimension and unfortunately the camera couldn't pick up on how much it helped. I also went ahead and added MUG Ice Queen below the brown and in the inner corner for a highlight.


Step 5: To create some smolder under the eye I mixed both Latte and Bitten on a pencil brush and blended it on the lower lashline, starting on the outer corner working in. I used the Sigma e30.


Step 6: Add some of your favorite mascara and you're all set! I happened to use Maybelline the Rocket Mascara in blackest black (I believe).


This look can be worn any time any season which is why I love it so much. You can also change the transition colors to create a different look. I got a lot of this inspiration from makeup artist and beauty guru Jaclyn Hill. I absolutely love her, she is hilarious, gorgeous and totally herself in every video she makes on Youtube. Check out her videos for even more inspiration! Stay beautiful!!

Monday, January 12, 2015

Review on Tarte Sweet Indulgence Holiday 3 in 1 Gift Collection! (With Swatches!)

  I know this might seem a little late but, its better late then never! Plus it gave me a little bit more time to test out the numerous products that were included in this collection. I was shocked to have received this on Christmas and hear that it was only 60 bucks. I know that the two blushes and a mascara could have easily made it over that price. Overall I absolutely love this! I have never tried many of Tarte's products except for their foundation and this was definitely a great way to try their other things.

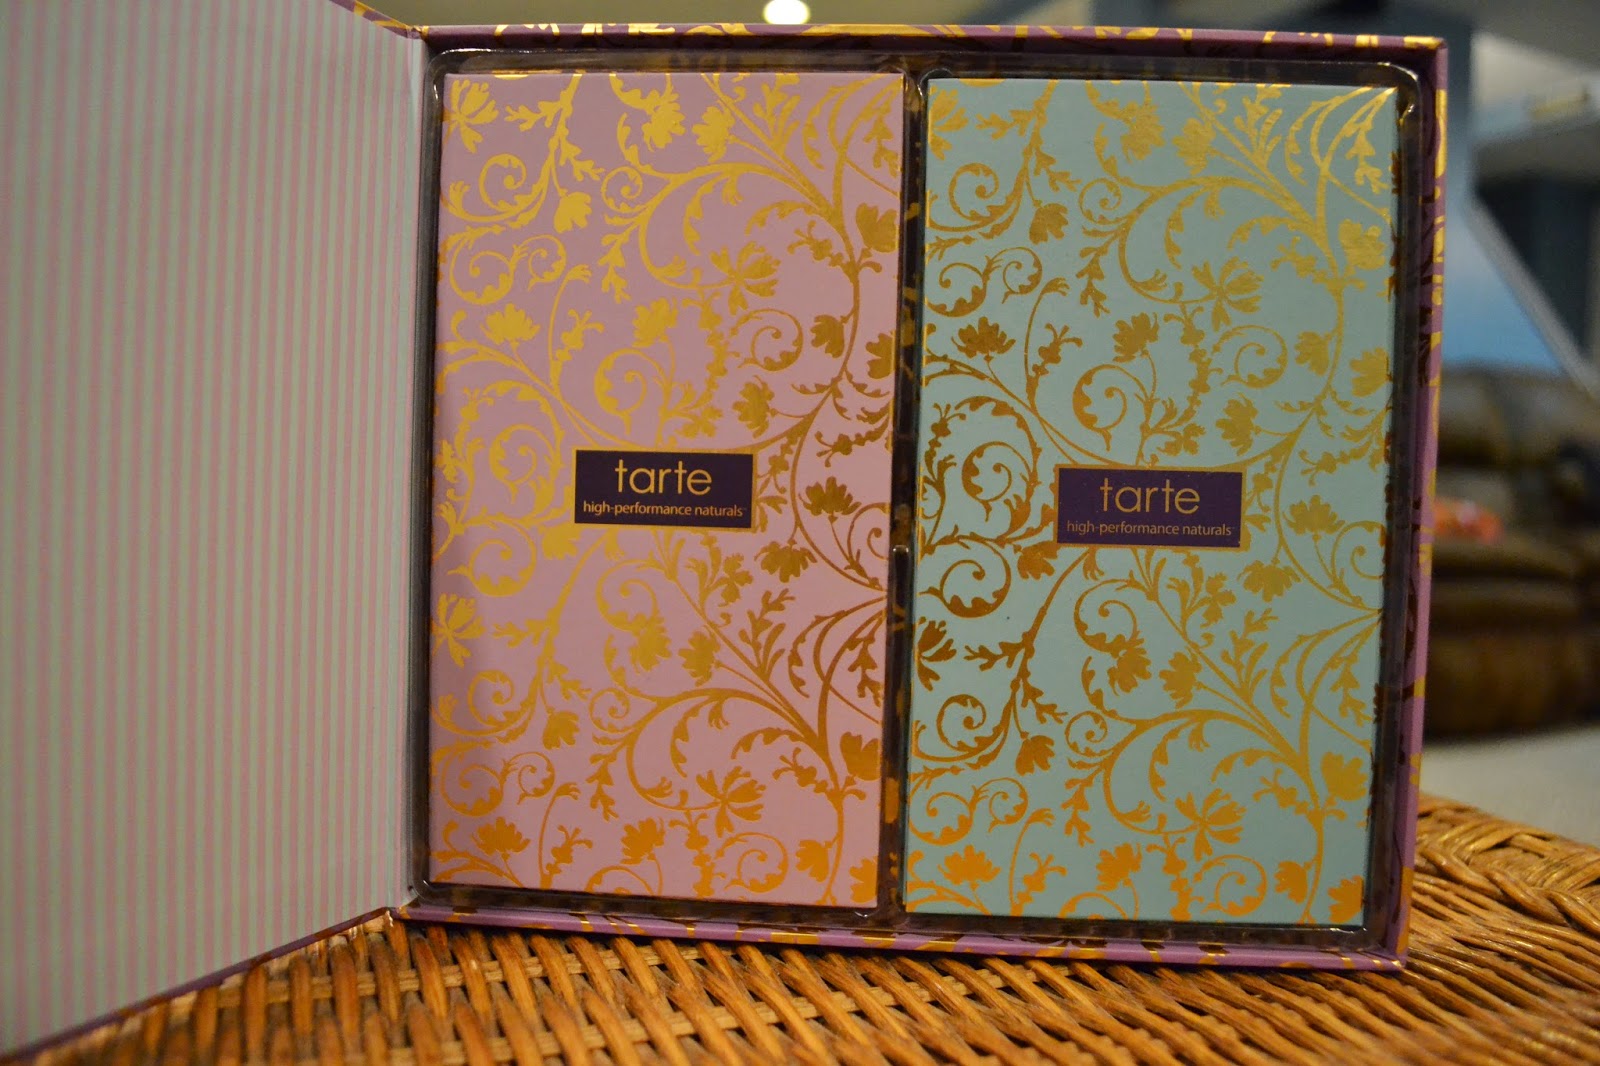
  This is what the collection looks like, with each of the three boxes containing a different set.


  The first box absolutely blew my mind! It had two eyeshadow palettes that had 8 shadows in each one, including both mattes and shimmers, darks and lights.


From Top to Bottom First Row: pinky promise, you look mauveless, pampered pink, show plum love
From Top to Bottom Second Row: taupe of the world, just malt away, dare to be gold, wind down brown

  Here are some swatches as well!


I love the fact that they are split into two separate looks; the mauvey/pink look or the neutral golden look. But of course I love to mix and match like Im sure a lot of us do :] The quality is amazing on these and the pigmentation is supreme. The only color that might need a base or primer is pampered pink but its still very pretty for a light wash of color.

From Top to Bottom First Row: vanilla candles, hazelnut bon bons, bronze cuff, espresso yourself
From Top to Bottom Second Row: coming up roses, champagne bubble bath, feeling grey-t, cinnamon latte

Some more swatches!


This palette is a bit more on the cool tone side compared to the first palette. It also has two different looks and another not as pigmented color, champagne bubble bath. Overall these eye shadows are amazing and blend effortlessly. I love them!

In the next little box comes the blushes and lippies!


  These are the two blushes, sorry that they didnt show up too great on camera but they really are great colors. The top one is the shimmery one in savored. Usually I dont like a shimmery blush but when it is on the cheeks it isn't very noticeable. Instead it adds a wash of rose and a sweet glow. The other, bottom shade, is pampered. I loooove this color and have worn it nonstop. I wish it wasnt limited addition because Im obsessed. It is a beautiful coral pink and the swatch just doesn't do it any good. They are both very smooth and easily blendable.

Here are some up close pictures of the blushes.

 pampered

savored

  The three lippies are also great quality. They didn't seem to have skimped out on much in this collection. It came with one Lipsurgence Lipgloss in Indulging and two Lipsurgence Lip Cremes in Rare and Wonder. All of them seem to have great wear time, especially the lipgloss. It is a little tacky so those who dont like sticky lip gloss might not like it, but it definitely helps the staying power. It is also very pigmented in a rich redish pink color, I love it. The two lip cremes/pencils seem to also be very long wearing and at least for me, they left a stain afterwords. It might help to line the lips before hand to help the wear of these appear more even, just a suggestion! They are all wonderful.

Anddd of course the swatches...

 Indulgence, Rare, Wonder

The final box held two full size Lights Camera Lashes mascaras and three eyeliner pencils. Unfortunately the eyeliners that are in this collection are nothing like they have in their permanent line. They are more, cheap in appearance and aren't as smooth as their other liners. They have pretty good pigmentation but they arent as creamy and blendable as others are. However the mascaras are phenomenal! I love the brush, its thin but with thicker bristles to add volume and get into the smaller areas of the eyes (the outer corner and lower lashes). But they definitely are not water proof. It easily comes off with water when I remove my makeup at night. Luckily though, it doesn't flake throughout the day and keeps it shape pretty well on my lashes.


From Top to Bottom: plum, bronze, charcoal (appears to have some blue undertones)

 If you made it through this entire post I thank you so much for the support because I know its long. There was sooo much stuff in this collection and overall, it was a great kit. I just wish that the shadows and the blushes weren't limited edition so that more people could get their hands on them. They are probably available on ebay or amazon for a higher price than normal, but if it isn't too bad I definitely recommend it! Anyways I hope you all enjoy it!

Check out my instagram kissable_makeup and my twitter stephshep29 to keep in touch!
You can also follow me by email to get notifications on new posts!


Saturday, January 10, 2015

Its just the beginning...

Well today's the day... the start of my first blog! It's pretty exciting to be doing this although a little nerve racking as well, trying to make all of the little touches and edits. But you have to start somewhere right?

And to kick things off I'll start with a little makeup look I did a few weeks ago. I was going to see the Nutcracker with my sister out at Mohegan Sun and decided to get a little dolled up per usual. Oh and don't mind the seat belt lol.


I used a 500 point perk that I got with an order I made at Sephora and experimented a little. Hope you like it! Here's what I used:
  • Sephora 500 Point Reward: Urban Decay Urban Obsessions (shadows and eyeliner)
  • Nars Pro Prime Smudge Proof Eyeshadow Base
  • Revlon Lash curler
  • Maybelline the Rocket mascara
  • Bite Beauty High Pigment Pencil in Pomegranate
  • Benefit Porefessional face primer
  • L'Oreal True Match in both N2 and N3 
  • Maybelline Instant Age Rewind Concealer in Light Pale
  • MakeUp Forever HD Powder
  • Benefit Hoola bronzer
  • Becca Shimmering Skin Perfector in Opal
And in case you would like to see what the UD palette looks like...


The colors are: skimp, bust, guilt, and oil slick. Liner in color Zero.

Its a great little palette for a simple smokey eye however I wish that the color Bust was matte. It would be good for a transition shade or a crease color. Yet they are all very easy to blend and complement one another nicely. Always love Urban Decay's shadows!